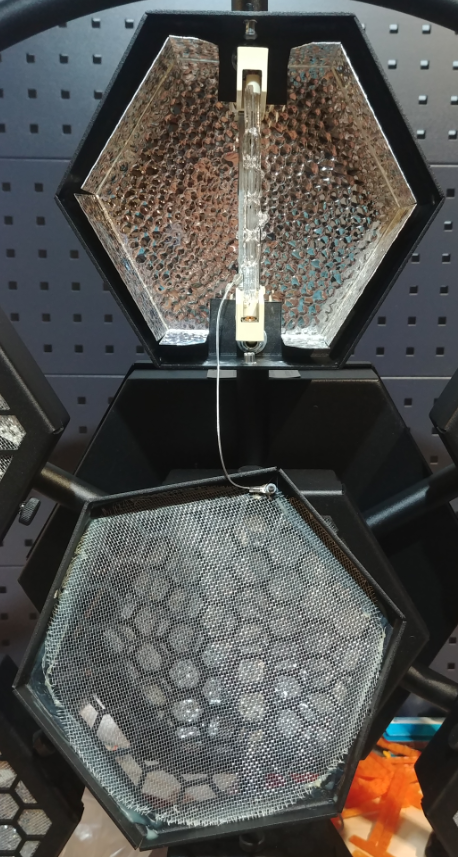
Reflector replacement [P1 retro lamp, P2 hexaline]
- Safety glasses
- Socket wrench 7 mm (9/32 inch)
- Material glove
Exchange process:
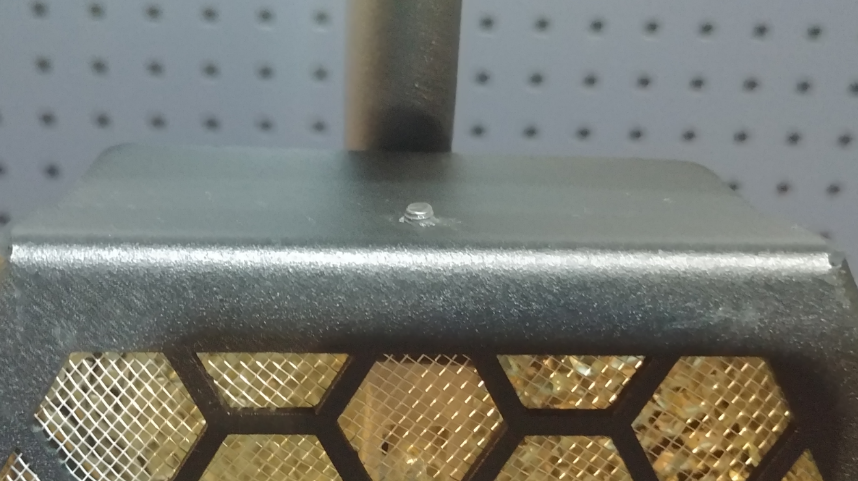
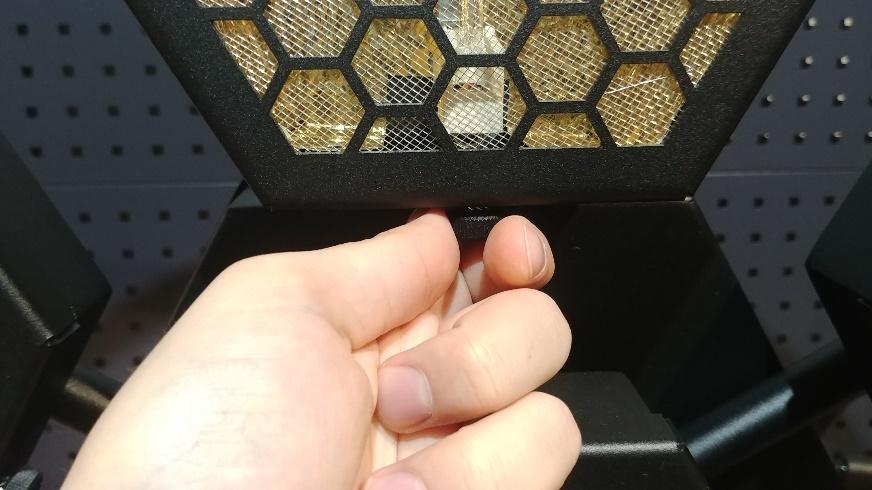
- Please unscrew the thumbscrew holding the front cover.
Please remove the front cover and put it gently on the side remembering the safety wire.
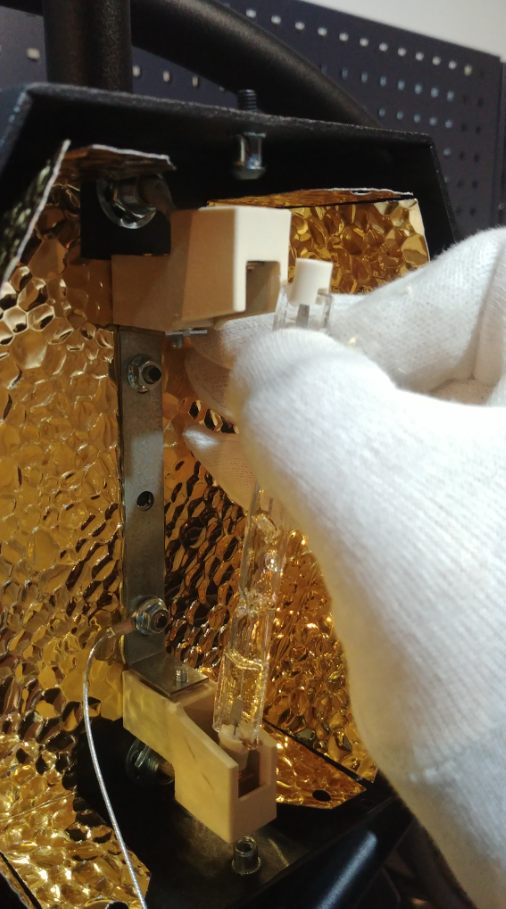
Before proceeding to the next point please put on a material glove or use a piece of material which will prevent touching the halogen lamp with your skin.
PLEASE REMEMBER THAT TOUCHING THE HALOGEN LAMP WITH BARE SKIN
MAY DAMAGE THE LAMP.
PLEASE REMEMBER TO USE SAFETY GLASSES!
PLEASE MAKE SURE THAT THE LAMPS ARE COLD.
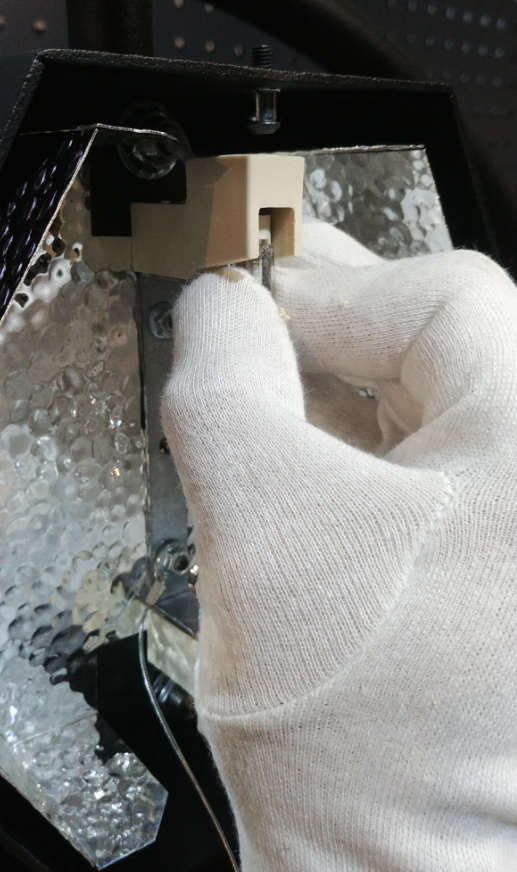
Please gently push the lamp towards one of the mounting brackets and remove the used lamp by pulling it up.
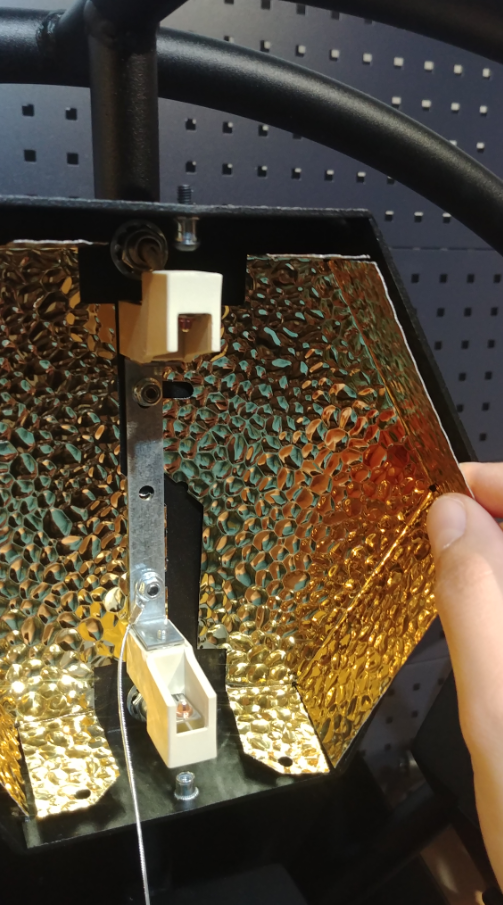
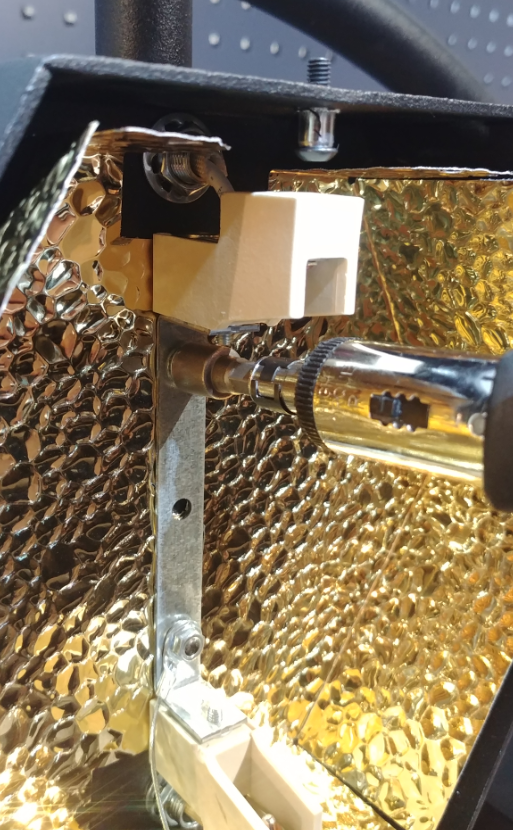
After removing the halogen lamp please use the 7 mm (9/32 inch) socket wrench to gently loosen the nuts that are holding the lamp holder.
Please do not unscrew the nuts completely, just loosen them a bit.
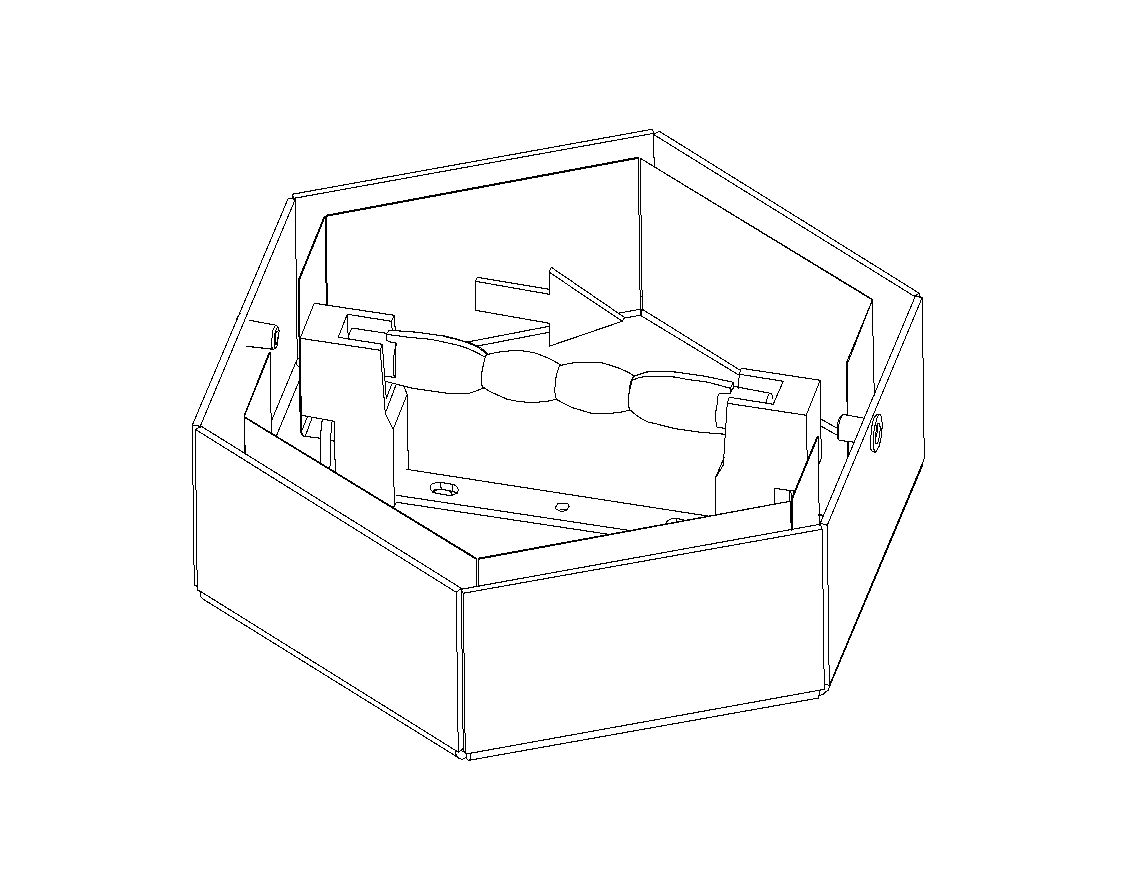
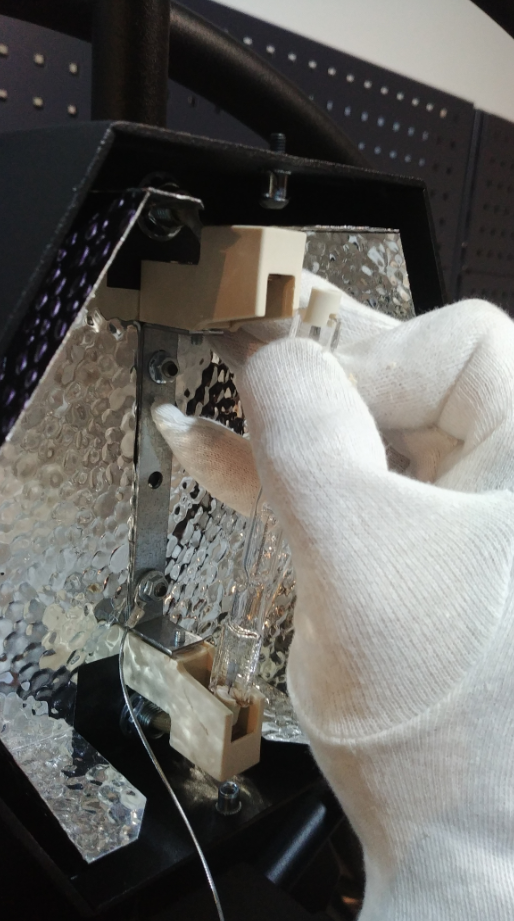
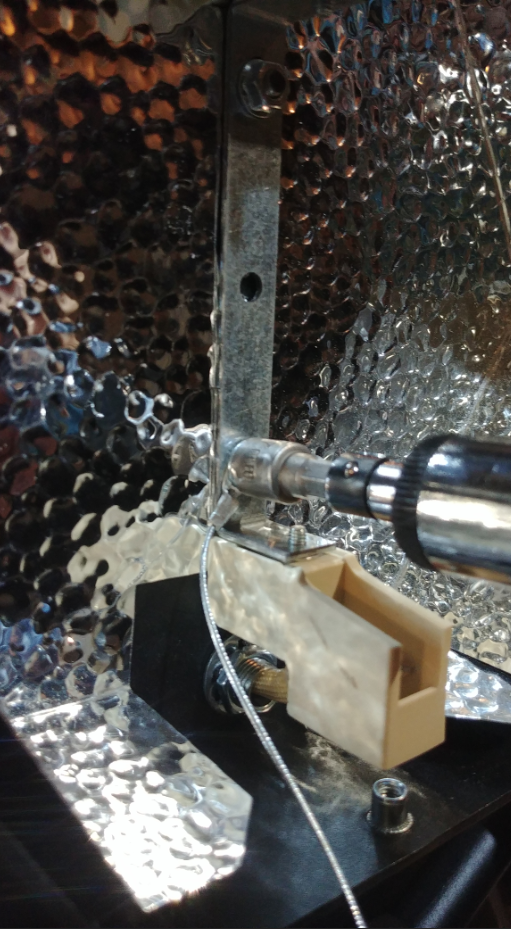
Please insert each half of the new reflector between the chassis and the lamp holder.
Please insert each half of the new reflector between the chassis and the lamp holder.
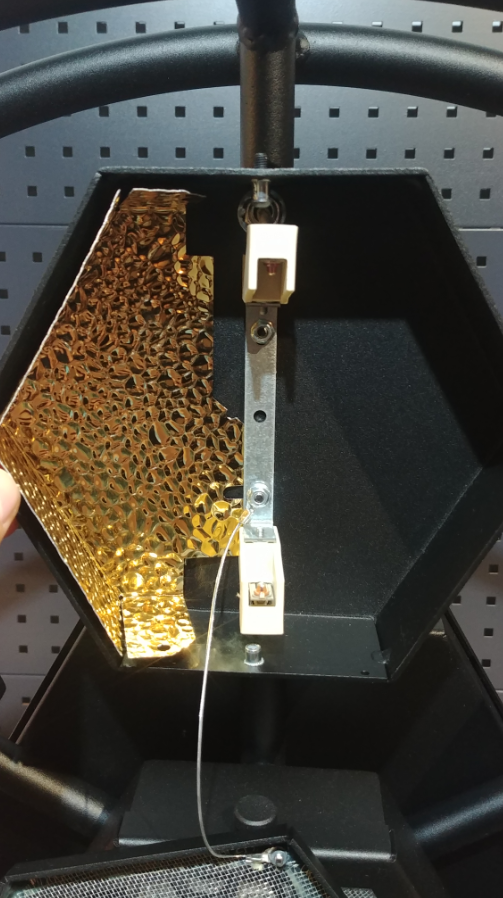
Next please position the reflector in the middle and tighten the nuts.
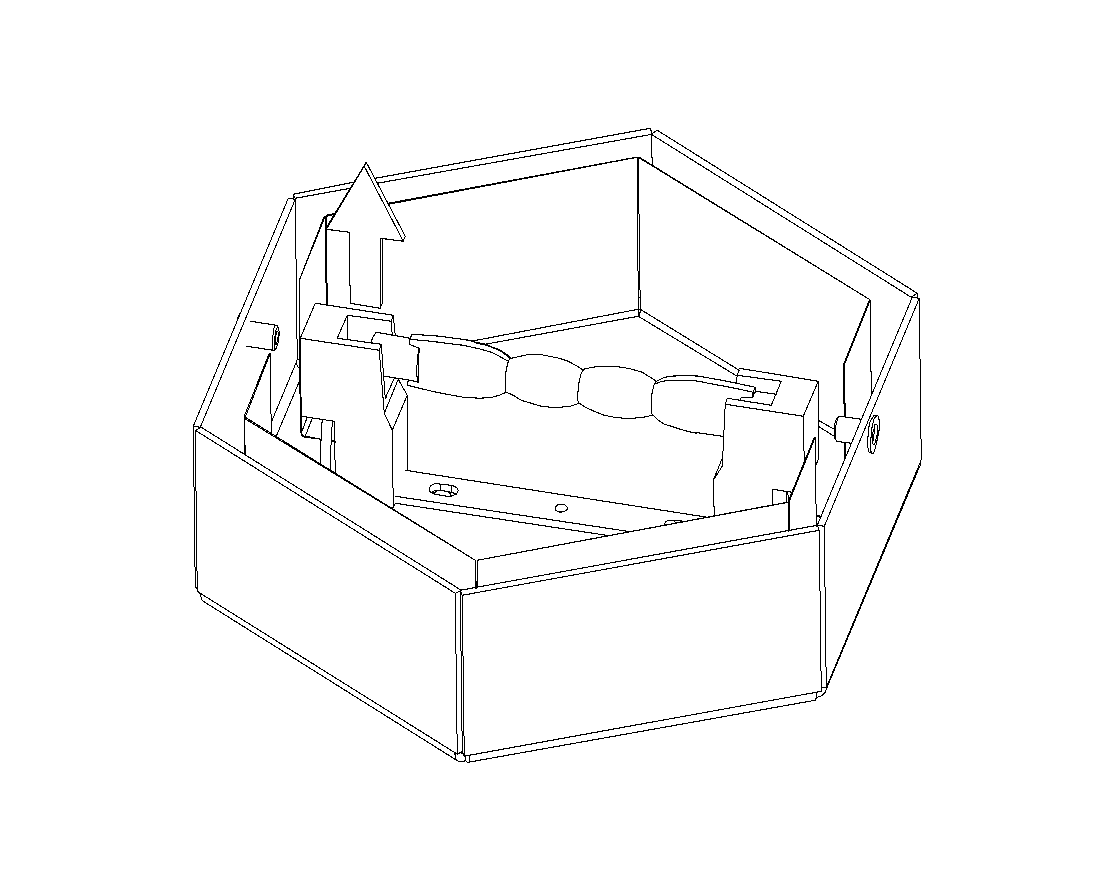
Inserting the lamp
Please remember to use the material glove or a piece of material.
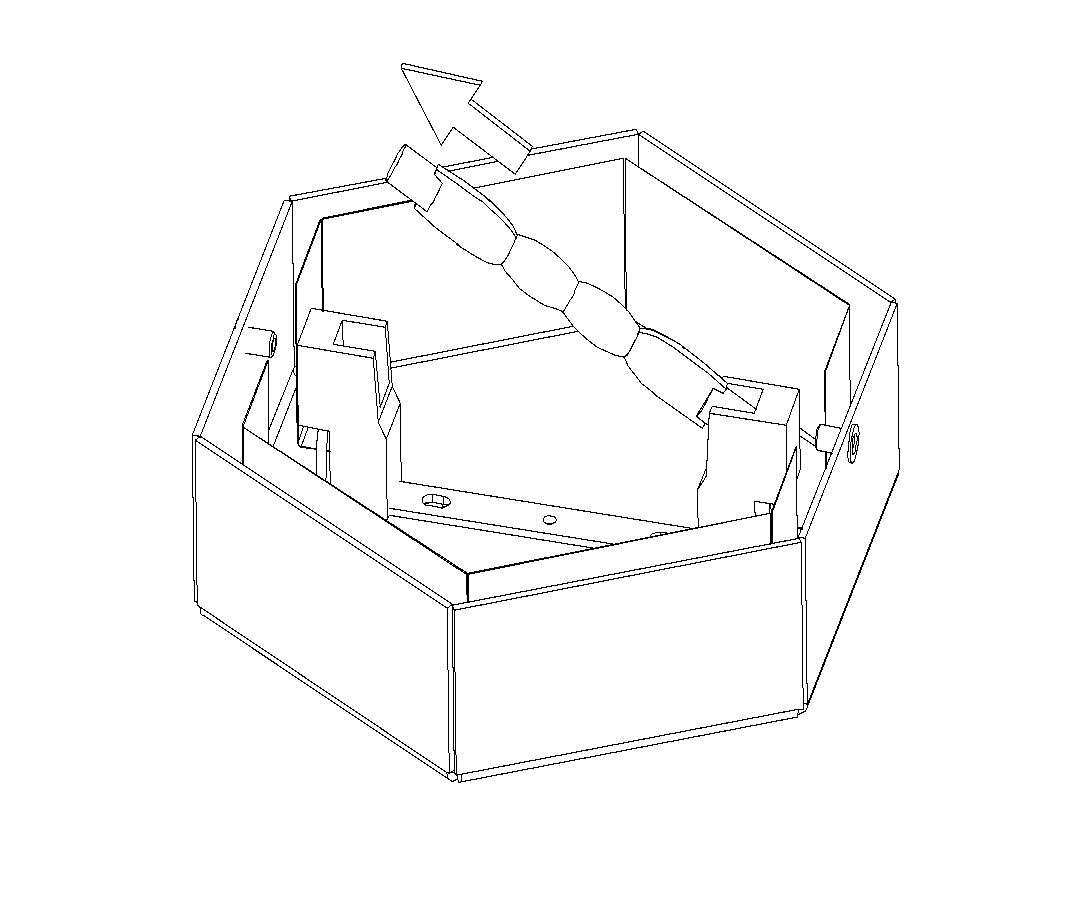
First please put the lamp into the connector and then gently push it in the direction of the arrow 1. When there is enough space to fit the lamp into the socket, please move the lamp in the direction of the arrow 2.
Please make sure that the lamp fits correctly into the socket. Putting on the front cover
Please put the front cover in a way that the oblong hole is facing downwards (thumbscrew will go through it). The thread on the top of the chassis must fit the regular hole in the front cover.
As the final step please screw on the thumbscrew through the oblong hole. This will attach the front cover to the chassis.
Please repeat those steps for the rest of the pixels.
Related Articles
User Manual [P2 hexaline]
WELCOME Dear User, Thank you for choosing Portman P2 hexaline™ – the original product with a registered design. We are proud to deliver you the highest quality, greatest design and real passion with our product. Each fixture in the Portman portfolio ...
User Manual [P1 retro lamp]
WELCOME Dear User, Thank you for choosing Portman P1 retro™ – the original product with a registered design. We are proud to deliver you the highest quality, greatest design and real passion with our product. Each fixture in the Portman portfolio is ...
Loose pixel [P1 retro, P2 hexaline]
Tools needed: Gloves Phillips screwdriver Steps: Place the device so that the pixels are facing upward Unscrew the thumbscrew and put down the pixel can cover Remove the filament (Hold the filament with a gloved hand only!). Tighten the screws ...
Programming CPU Board P-LPU1 with the STM32 Cube [P1 retro lamp, P2 hexaline, P3 PIX3L, P1 mini]
You need: Programator STM 32 Core (you can order it by writing to support@portmanlights.com ) USB A- B MINI USB cable STM 32 Cube software (download here) Programming: After installing the STM 32 Cube, open the program Click on after "Erasing & ...
Wire replacement in Pixel 3,4 [P2 EVO]
Tools neded: 2.5mm Allen spanner, imbus 2,5mm 2mm Allen spanner, imbus 2mm Wire replacement: Place P2EVO with the pixels facing up. Using a 2.5mm Allen wrench, unscrew the pixel cover from the left and right sides, gently open the cover and set it ...